Godot Nodes and Scenes Explained Simply
Godot nodes and scenes explained: the scene tree, reusable scenes and instancing, signals, groups and autoloads, with diagrams of a real player and level.
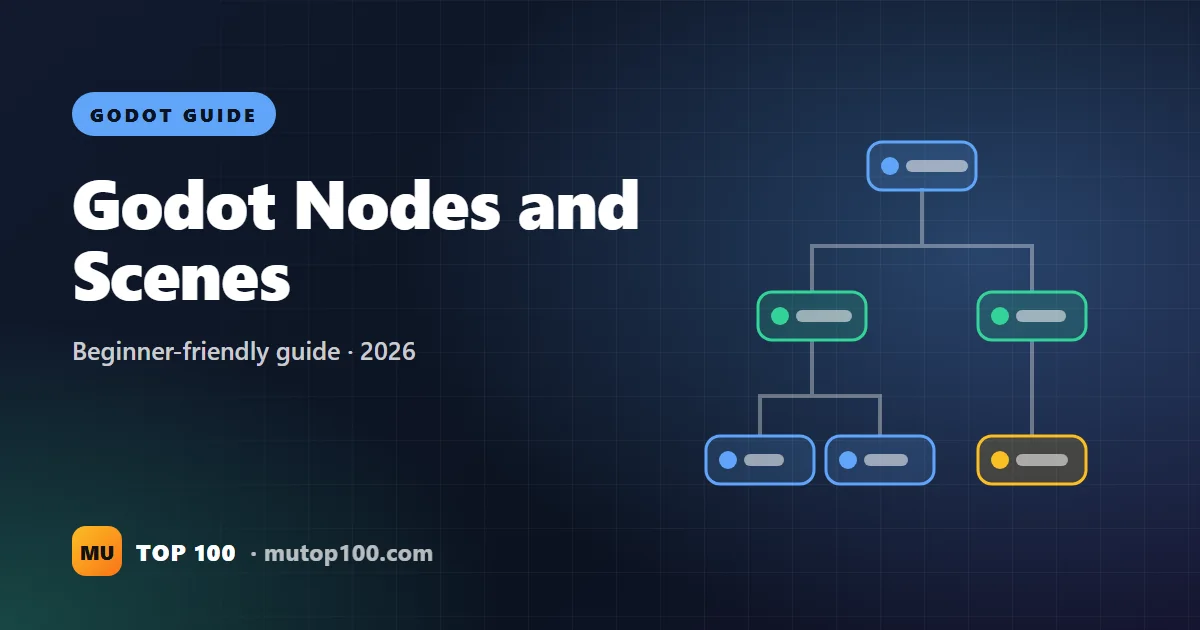
In Godot, a node is one building block with one job, such as showing a picture, playing a sound or noticing a hit. A scene is a group of nodes saved as a file, which you can reuse as often as you like. The running game is one big tree of these nodes. This guide explains nodes, the scene tree, instancing, signals, groups and autoloads in plain words, with diagrams of a real player and level.
What is a node in Godot?
A node is the smallest building block in Godot. Each type of node is good at one job, and you build everything by combining them. Godot has well over a hundred node types, but a 2D game mostly uses a handful:
| Node | Its one job |
|---|---|
| Sprite2D | Shows a picture. |
| CollisionShape2D | Gives its parent an invisible shape for physics. |
| CharacterBody2D | A body you move with code. It stops at walls. |
| Area2D | Notices when something enters it, for pickups and traps. |
| Camera2D | Decides which part of the world the player sees. |
| Timer | Counts down and sends a signal when it reaches zero. |
| Label | Shows text, like a score. |
Node types build on each other. A CharacterBody2D is a kind of PhysicsBody2D. Further up the chain it is also a Node2D, and at the very top a Node. That is why every 2D node has a position: it comes from Node2D. Godot's built-in help (press F1, or Opt+Space on a Mac) shows the full chain at the top of each node's page, after the word "Inherits".
Parents, children and the scene tree
Nodes hang together in a tree, like a family tree turned upside down. Every node except the very top one has exactly one parent, and any node can have children. Children follow their parent: move the parent and its children move too. Hide it and they disappear. Delete it and they are deleted with it.
That is exactly what you want for a game. A sword picture added as a child of the player moves wherever the player goes. In 2D, the order matters too: nodes lower in the list are drawn on top of the ones above them.
Scripts find other nodes by their path in the tree. $Sprite2D means "my child called Sprite2D", and $Hurtbox/CollisionShape2D goes one level deeper. You rarely need to type paths: drag a node from the Scene dock into your script, and Godot writes the path for you.
A yellow warning triangle next to a node in the Scene dock means it is set up wrong. Hover over it to read why. A common one: a CollisionShape2D only works as a direct child of a body or an Area2D, and it needs a shape.
What is a scene in Godot?
A scene is a tree of nodes saved as a file ending in .tscn. It always has exactly one top node, called the root. Think of a scene as a blueprint. You design it once, then build as many copies as you like.
In Godot, almost everything is a scene: a character, a bullet, a coin, a whole level, a menu or a health bar. If you know Unity, a Godot scene does the jobs of both a prefab and a level. One scene is the main scene, the one that starts when you press F5. You can change it in Project > Project Settings, under Application > Run.
Example: a real player scene
Here is the player of a typical 2D platformer. Each node has one job, and together they make a character that runs, jumps, gets hurt and makes noise.
Why a separate Hurtbox? The body's collision shape decides where the player can stand. The hurt zone can be smaller, so enemies that only brush your hair do not count as a hit. Two shapes, two jobs, two nodes.
Instancing: one scene, many copies
Placing a copy of a scene inside another scene is called instancing, and each copy is an instance. In the editor, drag a .tscn file from the FileSystem dock into your level, or click the chain-link Instantiate Child Scene button in the Scene dock.
Every instance stays linked to its scene file. Give coin.tscn a new picture, and every coin in every level updates. Each instance can still change its own properties in the Inspector, such as one faster enemy. To edit the inner nodes of one copy, right-click it and choose Editable Children.
Games also create instances while they run, for bullets, enemies and coins. That takes three steps: load the scene, make a copy, add it to the tree.
extends Node2D

# Load the scene file once, when this script loads.
const COIN_SCENE := preload("res://coin.tscn")

func spawn_coin(at: Vector2) -> void:
    var coin: Node2D = COIN_SCENE.instantiate()  # a new copy
    coin.position = at
    add_child(coin)  # it only appears once it is in the tree
To remove a node, call queue_free() on it. Godot then deletes it safely at the end of the frame. And if part of a scene grows big, right-click its top node and choose Save Branch as Scene to turn it into its own reusable scene.
Example: a level and the running game
When the game starts, Godot builds one big tree. At the top sits a root node that Godot makes itself. Below it come your autoloads, then the main scene with all its instances:
You can watch this tree live. Run the game, then click Remote at the top of the Scene dock. You see every node that exists right now, including bullets and enemies spawned by code, and you can click one to check its values in the Inspector.
How signals work in Godot
A signal is a message that says "something just happened". A node emits the signal, and any number of other nodes can connect to it and react. The sender does not need to know who is listening. Built-in examples are a Button's pressed, an Area2D's body_entered and a Timer's timeout.
To connect one in the editor, select the node and open the Signals tab next to the Inspector. Double-click the signal, choose the node that should react and click Connect. Godot writes the function for you and marks it with a small connection icon in the script. In code, the same connection looks like $Timer.timeout.connect(_on_timer_timeout).
You can also declare your own signals. Here the player only announces that it died, and the level decides what happens next.
# player.gd
class_name Player
extends CharacterBody2D

signal died  # "I died", for anyone who listens

func hurt() -> void:
    died.emit()
# level.gd, on the level's root node
extends Node2D
@onready var player: Player = $Player
func _ready() -> void:
player.died.connect(_on_player_died)
func _on_player_died() -> void:
# Restart once the current physics step has finished.
get_tree().reload_current_scene.call_deferred()Now the player scene works in any level, menu or test scene, because it never reaches out to grab anything. This pattern has a name: call down, signal up.
Groups: talk to many nodes at once
A group is a tag you stick on nodes, like a hashtag. Add one in the Groups tab next to the Inspector, or in code with add_to_group("enemies"). Then you can reach every tagged node at once, wherever it sits in the tree. These three snippets live in three different scripts:
# enemy.gd: join the group when the enemy appears.
func _ready() -> void:
    add_to_group("enemies")

# level.gd: freeze every enemy with one line.
func freeze_all() -> void:
    get_tree().call_group("enemies", "freeze")

# coin.gd: react only to nodes in the "player" group.
func _on_body_entered(body: Node2D) -> void:
    if body.is_in_group("player"):
        queue_free()
For this to work, each enemy script needs its own freeze() function, and the player must be in a "player" group. Checking a group is sturdier than checking a name like body.name == "Player", which breaks the day you rename the node. You can also count things: get_tree().get_nodes_in_group("coins").size() tells you how many coins are left. Godot's groups page explains global groups, which you manage in Project Settings.
Autoloads: data that survives scene changes
When the game changes scene, the old scene is deleted along with all its variables. So where do you keep the total score, the settings or the music between levels? In an autoload: a script or scene that Godot loads at the start and keeps alive the whole time. Any script can reach it by its name.
- Write the script. Create a file
game.gdwith the code below. - Register it. Open Project > Project Settings > Globals > Autoload, pick the file, set the name to Game and click Add.
- Use it anywhere. Call
Game.add_coin()from a coin, or readGame.coinsfrom the HUD in any level.
# game.gd, registered as an autoload named "Game"
extends Node

var coins := 0
var level := 1

func add_coin() -> void:
    coins += 1
Autoloads are handy, but do not put everything in them. When every script can change the same variables, bugs become hard to trace. Keep autoloads for things that truly belong to the whole game. Godot's page on singletons and autoloads shows a complete scene switcher built this way.
Five rules for tidy scenes
- One job per scene. When a part gets big or you need copies of it, save it as its own scene.
- Call down, signal up. Parents may call their children's functions. Children report upward with signals.
- Avoid long paths like
get_node("../../HUD/Score"). They break when you move nodes. Use a signal, a group, an@exportvariable or a unique name: right-click a node, choose Access as Unique Name and write%Score. - Tag with groups instead of checking names. Names change, tags stay.
- Keep autoloads small. Use them for score, settings, music and saving, not for every bit of game logic.
Ready to use all this? Build a whole game in how to make your first game in Godot 4, and learn the language in GDScript for beginners. A tidy scene tree also helps when you ask AI for code, as our AI for Godot guide explains. For examples of what people build with these pieces, browse the Godot games on Mutop100.
FAQ
What is the difference between a node and a scene in Godot?
A node is a single building block with one job, while a scene is a saved tree of nodes with one root. You build scenes out of nodes, then reuse scenes as often as you like.
Is a Godot scene the same as a Unity prefab?
Mostly, yes. You can instance a Godot scene many times like a prefab, but in Godot whole levels and menus are scenes too, so one idea covers both jobs.
When should I use a signal instead of calling a function?
Use a signal when a node needs to report that something happened, such as a player dying or a button being pressed. Call a function when a parent tells its own child what to do.
What is the difference between groups and autoloads?
Groups tag many nodes so you can find or call them together. An autoload is one node that is always loaded and holds shared data, such as the score or the settings.
How do I see the scene tree while my game is running?
Click Remote at the top of the Scene dock while the game runs. It shows the live tree, including nodes created by code, and lets you inspect their current values.
Can one scene inherit from another scene?
Yes. Choose Scene > New Inherited Scene to make a variant of an existing scene, such as a fast slime based on a normal slime. Changes to the original still flow into the variant.
Built something with nodes and scenes?
List your finished Godot game free on Mutop100 and let players vote for it next to other Godot games.
List your game free